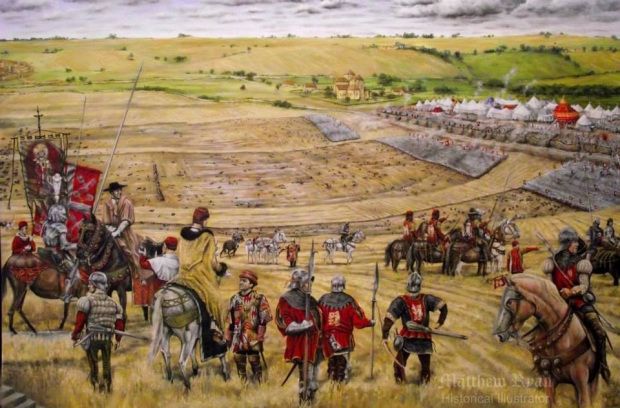
The War of the Disinherited 1266-7
England in the 13th century was the scene of two major civil wars known as the First and Second Baron’s Wars, so-called because they were the result of quarrels between successive kings and their barons that degenerated into violent conflict. The First Baron’s War occurred in the later stages of the reign of King John (1199-1216) and only ended with John’s premature death. The Second Baron’s War occurred towards the end of the long reign of John’s son Henry III (1216-1272).

This second conflict was more protracted than the first, resulting in widespread devastation and a general breakdown in law and order. For much of the war the rebels were led by Simon de Montfort, the ‘good Earl’ of Leicester, until his defeat and death at the Battle of Evesham on 4 August 1265. Despite the loss of de Montfort and the slaughter of his army Evesham did not bring an end to the war and was followed by two more years of bloody fighting.
The Siege of Kenilworth
The way was now clear for the royalists to stamp out the last embers of resistance. Roger Leyburn led a punitive march through East Anglia, clearing out nests of rebels and strengthening the royalist grip on Essex. In the meantime King Henry prepared for a major assault on the last major rebel stronghold of Kenilworth Castle.
Then some dismal news was brought to the king. Taking advantage of the concentration of royal forces at Kenilworth, the outlaw knight John D’Eyville had occupied the Isle of Ely in Lincolnshire and established a rebel camp there. The creation of this new centre of resistance destroyed the king’s hopes of ending the war.
The Dictum of Kenilworth
Circumstances had tempered King Henry’s desire for revenge and he was driven to offer some form of clemency to the rebels. The Dictum of Kenilworth proclaimed on 31 October 1266 offered a pardon and the restoration of lands to all those who would come to Kenilworth and make their peace, but it failed to end the conflict.
The Isle of Ely
The eventual surrender of Kenilworth Castle left only the Isle of Ely to deal with, where the intransigent John D’Eyville had holed up with his followers. Surrounded by bogs and marches, the Isle was an easily defended spot and reducing it was no easy task.
The Red Earl
The renewed outburst of resistance to the King in early 1267, at a time when it seemed that the rebels had nothing left to fight for, was due to the intervention of Gilbert de Clare, Earl of Gloucester. Known as Gilbert ‘the Red’ due to his shock of red hair, he had been on the royalist side during the war but was angered by King Henry’s failure to reward him adequately for his services. In early 1267 Gloucester fell out with the king and the Lord Edward and became convinced that the only way of securing his own interests and ending the war was if he intervened on the side of the rebels. So, in great secrecy, he began negotiating with the rebel leaders.
The Capture of London
Gloucester and his new allies hatched an audacious plan to seize London and, having taken the capital, force King Henry to bow to their demands. Little suspecting his plans, Cardinal Ottobuono inadvertently provided Gloucester with an excuse to enter the city by inviting him to discuss reconciliation with the king.
The stage was now set for a siege that would be many times as weary and protracted as that of Kenilworth, with the added horrors of civilian casualties. The king was furious at this fresh humiliation and began preparations for the siege, but by now even his closest advisors were desperate for a peaceful settlement to the war.
The War Ends
A truce was arranged and Gloucester agreed to withdraw from London provided that the surviving Disinherited were finally granted back their lands. This was agreed and on 1st June 1267 a weary battle-scarred procession of rebel knights and barons filed into St Paul’s Cathedral, laid down their arms and renewed their oaths of loyalty to the king.


